I have neglected the blog for 12 months so have a few items to catch up.
Most recent tasks have been fiddly, time consuming and on completion hardly seem worthy of a mention, but here are a few with some technical details:
Rear door threshold
The main contractor did not provide a threshold to the main rear doors and the solution was necessarily going to involve some careful detailed design and construction. At the tail end of the project with pressure on to complete it seemed safer to take this on-board myself.
The rear doors should have included a timber threshold as part of the door frame but we were presented with a wide, insulation filled cavity wall.

The
silver lining was that a timber threshold would have been
unsophisticated and presented an obstacle to wheeled traffic, so there was
an opportunity to come up with something better.
Initially I designed a single pressed stainless steel section incorporating a stepped threshold at the rear of the doors and sloping sections at each edge to to suit ground levels. The metalworkers could not press this section and suggested it was made in 2 parts.
I thought it might be possible to bolt the sections together but in practice it was impossible to retain the nuts on the rear of one section and fix 'blind' with any certainty.
Although the metalworkers were dubious, what did work was tapping a hole in the outer section of threshold and bolting through the lap with mushroom headed set screws.
Assembly was tricky in aligning the sections and injecting expanding foam between timber wedges in the correct quantities. Too little was injected at the inner threshold, so some deflection movement was evident and too much under the external threshold forced it up, despite lots of heavy ballast.
The timber frame was cut back internally to allow the threshold to be installed and glued back in place on completion.
Some really effective drop seals were added to the base of the door and self adhesive dense foam added to lock cut-outs and overlaps to improve airtightness.

The original design allows for the doors (with solid cores) to be enhanced by addition of an insulated liner at a later date. I cannot see this being a priority since the airtightness is good and the lobby is unheated. There is an opportunity to add draught seals and drop seals to inner lobby doors that might be more beneficial.
Weather stripping was removed for painting to give a neat finish using Dulux Weathershield - a bit shiny but good colour to match windows etc.
Window


Early one morning in the spring, unfortunately, I was not woken by an unwelcome visitor when the workshop was broken into. The side window next to the pavement was smashed through using a brick. I was under the illusion that a toughened outer pane and laminated inner pane and window lock would offer some resistance!
Very thankfully I was insured for break-in damage and the window manufacturer, Rationel, efficiently and quickly organised a replacement unit from Poland and a few accessories; new locking handle, mastic and home-made glazing paddle. I fitted the unit myself which helped to cover the cost of my insurance excess and I learnt how straightforward the glazing system is in the process!
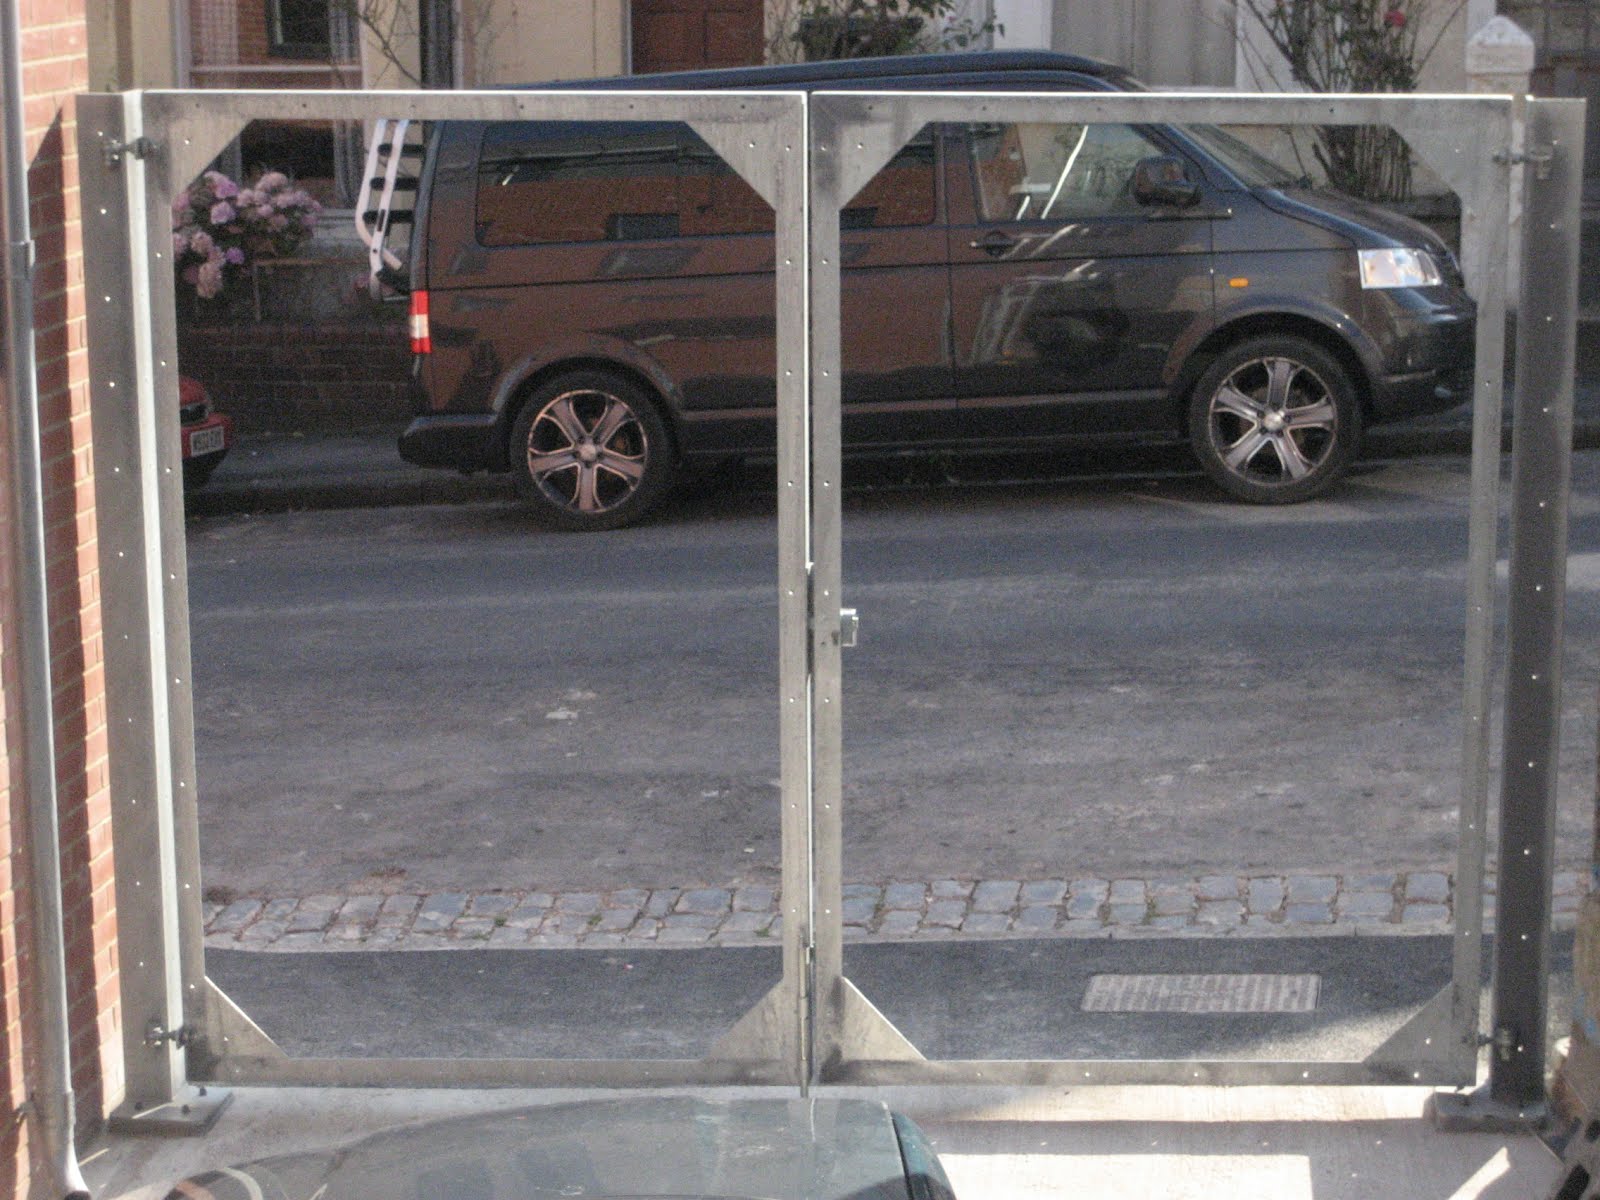
Gates
The break-in spurred me to complete the gate infills using hit and miss arrangement of cedar boards. The design was based on galvanised angle frames with lots of holes to accept fixings without further drilling and a sandwich arrangement of timbers made up in panels to avoid external fixings.
I was a bit disappointed by the quality of the timber because it was rough sawn timber shoved through a planer so in many cases damaged faces from forklifts or undersized boards etc. were impossible to conceal since all faces of timber were visible.

The result is great;
- the wind blows through the gates without deflecting them
- the extreme lightness (although cedar is technically a hardwood, think: balsawood) did not add deflection to the gate frames
- the locking is concealed and works well.
- the slatted arrangement allows the yard to remain private but gives
an awareness of movement in the street and during the day allows an
oblique view from the workshop to the street
Rainscreen
Finally the lower section of the rainscreen is complete after the upper section was finished 12 months ago.
This was the most fiddly part, although accessible from ground level without scaffolding there was a lot to coordinate and plenty of existing construction to rectify.
Mailbox - I wanted a parcel box of some description to accept
parcel deliveries and plenty of mail while I was away, but it had to be
energy efficient; insulated and draught-proof. After much detailed
design work I concluded that for the effort involved a simpler solution
was to accept a proprietary mail box accessible only from the outside. I
found a suitable model in a modern design and in a dark grey which
almost matched doors and windows, just a few RAL numbers out. I cut out
a hole in the existing insulated cladding, upgraded the insulation
using 2 layers of 50mm Xtratherm and made a 'shoe-box' in birch plywood
to accept the mail box. The box was lined with an uncut sheet of Tyvek
Facade 'origami' style.

 |
|


Gas Meter enclosure - I have painted the white plastic? box using a recommended Dulux system in grey RAL. Looks just about OK but the crude design means that the door removes paint at the hinges and the paint finish will always be vulnerable to scratches. I did originally look at concealing the whole box behind the cedar rainscreen, but this was a coordination step too far and would have required an enormous depth of wall.

Door Intercom - This had been mounted on a huge piece of timber spanning between vertical battens that completely blocked the ventilation space necessary behind the Tyvek Facade. I replaced this timber with 15mm birch plywood on small battens and added a shaped packer in Iroko to bring the Intercom out to the finished face of rainscreen. As it happens my calculations were wrong so later the intercom had to be lowered once detailed calculations of slat positions were made. This was especially painful given the spaghetti of telephone wires in the unit that required dismantling and reconnecting.
Tyvek Facade - Is a water resistant but breathable membrane in matt black finish without the normal 'Du-Pont Tyvek' writing. It requires a ventilation space between it and the insulation behind to allow moist air to escape and avoid condensation or a 'steaming' effect. Tyvek facade is not totally UV stable and since the original installation had been made without the ventilation gap I was aware that this would require replacement. In fact the Tyvek had started to loose its flexibility and was in any case dirty and not quite so matt and pristine. The contractor had left me with the remainder of a 50M roll of Tyvek which turned out to be only just enough, and I really did not want to buy another roll at £220 for a couple of metres! Tyvek has deleted the double sided tape that I needed to join new and remaining membrane so a 3M substitute from RS Components had to do.
Alignment - the existing battens that secured insulation to timber studs were neither vertical nor offered a flat surface for the rainscreen. So after the Tyvek membrane was removed birch plywood packers in 1mm increments were added to give a flat and true surface.
 Door Jambs
 - The door & window/cladding contractor installed powder coated door jamb flashings but secured them with small aluminium angles using mastic, without first removing the protective plastic:( So the jambs were glued to protective plastic! Given the lack of attention and poor workmanship I negotiated with the cladding contractor to supply me with 2 full height pressed aluminium angles and we would call it a day. Unfortunately the contractor shut the pair of angles in his car door before driving from Dudley and spent time trying to hammer out the banana shapes on site.
I debated if I could use these slightly bent sections, removed the old angles and used some fantastic 3M double sided 1mm foam adhesive to join angles to rear of jamb flashings. The angles were first drilled with slotted holes to allow them to be fixed flat and slid into contact with jamb flashings and the release tape made accessible so it could removed at the last minute.
The aluminimum angles were also sprayed matt black where they remained visible.
 Wall junction
 - A continuous strip of Compriband sized to expand and seal the variation in brick and mortar joints was applied to the brick wall. A pressed light gauge angle of galvanised steel fixed to perimeter battens, sealed the Tyvek membrane against the Compriband. It was found that the matt spray paint would not stick to the galvanized angle so a strip of Tyvek was reversed and joined with double sided tape to give a matt black finish where this was visible at the perimeters.
Templates - Once the Tyvek was complete, thin plywood templates were made for left and right sections and the precise spacing of cedar planking calculated. Gaps between planks are progressively adjusted to allow for gap spacing around each obstruction and achieve the desired head condition, although gaps appear equal.